Thursday, December 23, 2010

Cabinets are Up

We have all our wall cabinets up.  We ended up using some shims because our walls aren't flat and square but only the area near the fridge was really bad.  We need to add more once we decide exactly where everything goes in relation to the base cabinets once those get put in.  And we will tighten the holders to raise up the cabinets a smidge but again once everything is set.  It was advised not to have the cabinets flush up with the soffits since they probably aren't completly level and flat and it would interfer with the doors opening.

We won't add shelves, doors and cover panels until everything is done floor wise but its a good start.

I have way more cabinets than I did before!  Now just to get more stuff for the insides.


 The extra deep fridge cabinet made us a little nervous so we have some wood blocks just in case to make sure it doesn't come crashing down :)  Oh and we left space to add a cover panel between to cover the deep edge.
 The white fridge really needs to go!
 

The Husband's Birthday Party

I forgot to post these pics last month.  We had his 30th birthday at Crabtowne Arcade in Glen Burnie. Lots of friends and family came out to celebrate and we had a good time!


I figure I should include a few pics of the baking process since everyone is asking how I made 2 cakes and 24 cupcakes with no kitchen.  Well we still have our oven working and a card table and with that and my Kitchen Aid mixer I was in business.


I made my own big 3-0 cake stencils using cardstock and big font on the computer and cut them out and sprayed the back with cooking spray so they wouldn't stick to the icing.  A little sprinkle magic and I had a custom cake.

Cabinets Going Up!

We have some progress.  The cabinets are put together and going up on the wall.  It was pretty easy to put the Ikea wall cabinet boxes together event though there are no words in the instructions, just pictures.  However some browsing on Youtube provided some good videos so they were pretty easy to follow. 

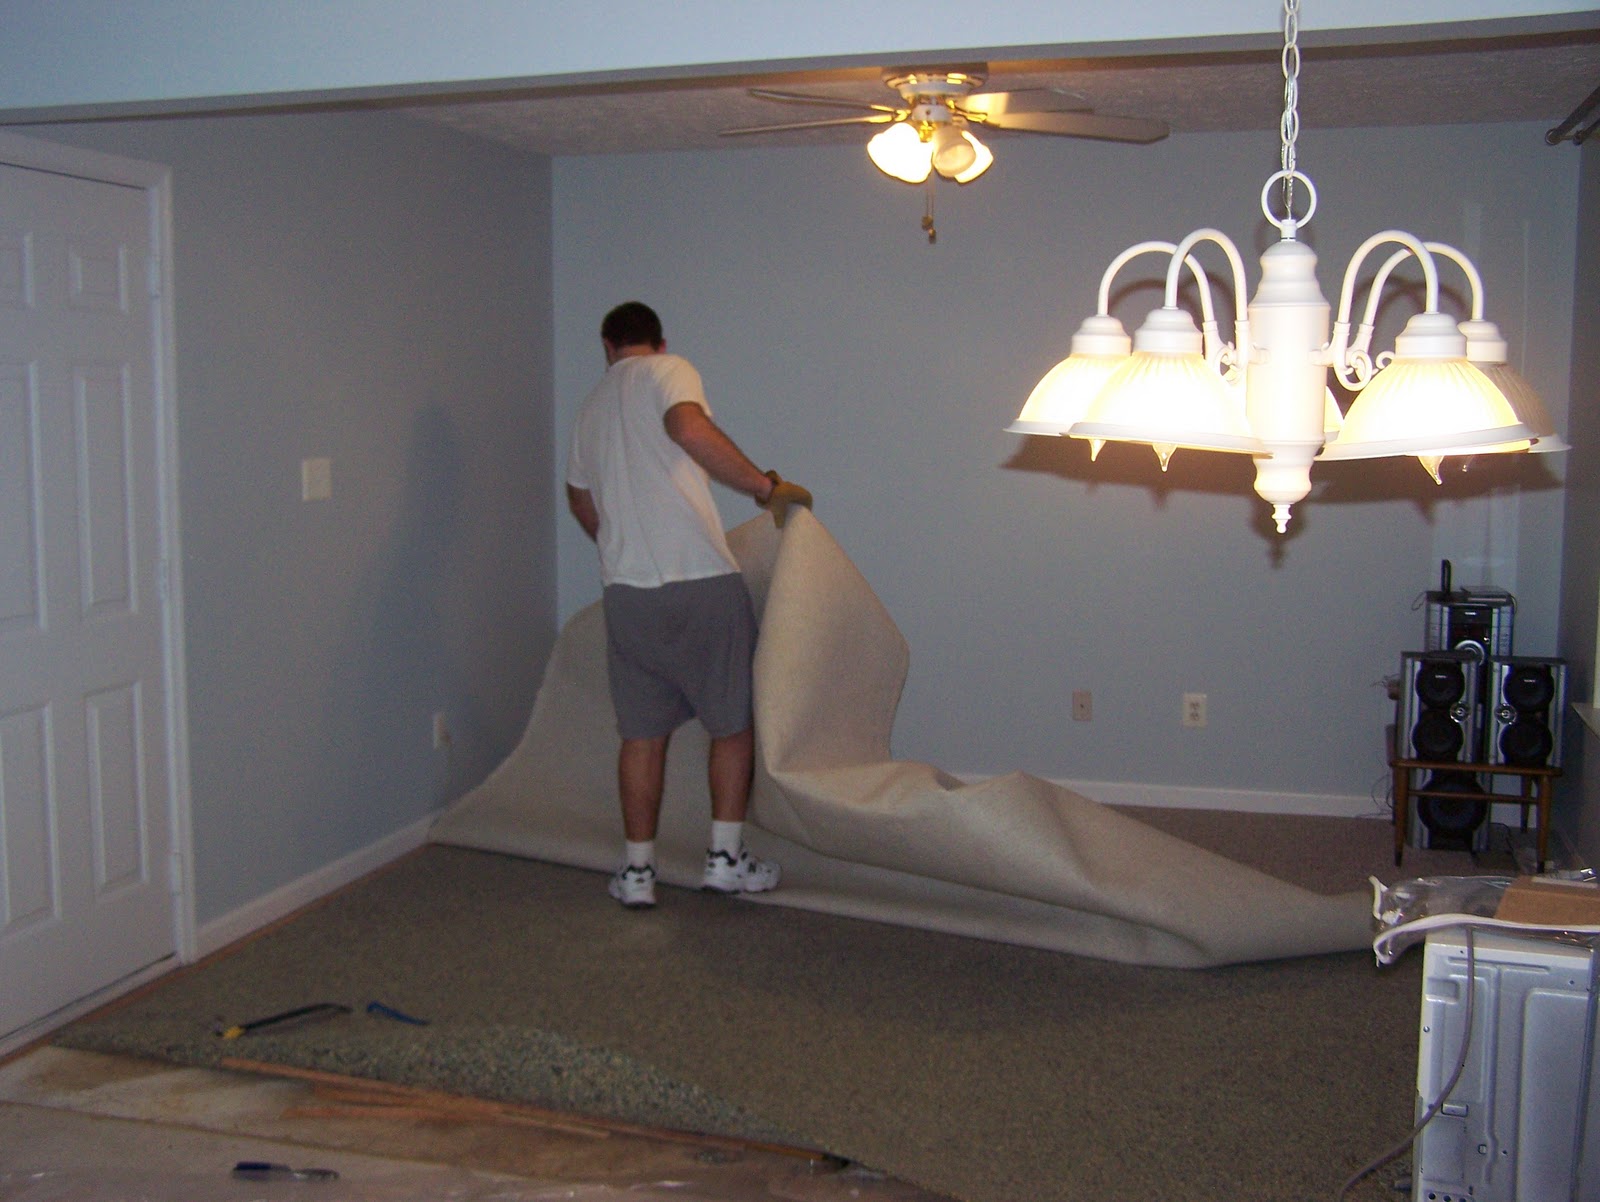
Hanging the cabinets was harder than we thought. All Monday we only got one box hung but we worked out a ton of kinks in the process and now its moving fairly smooth.  Some pics of the process.


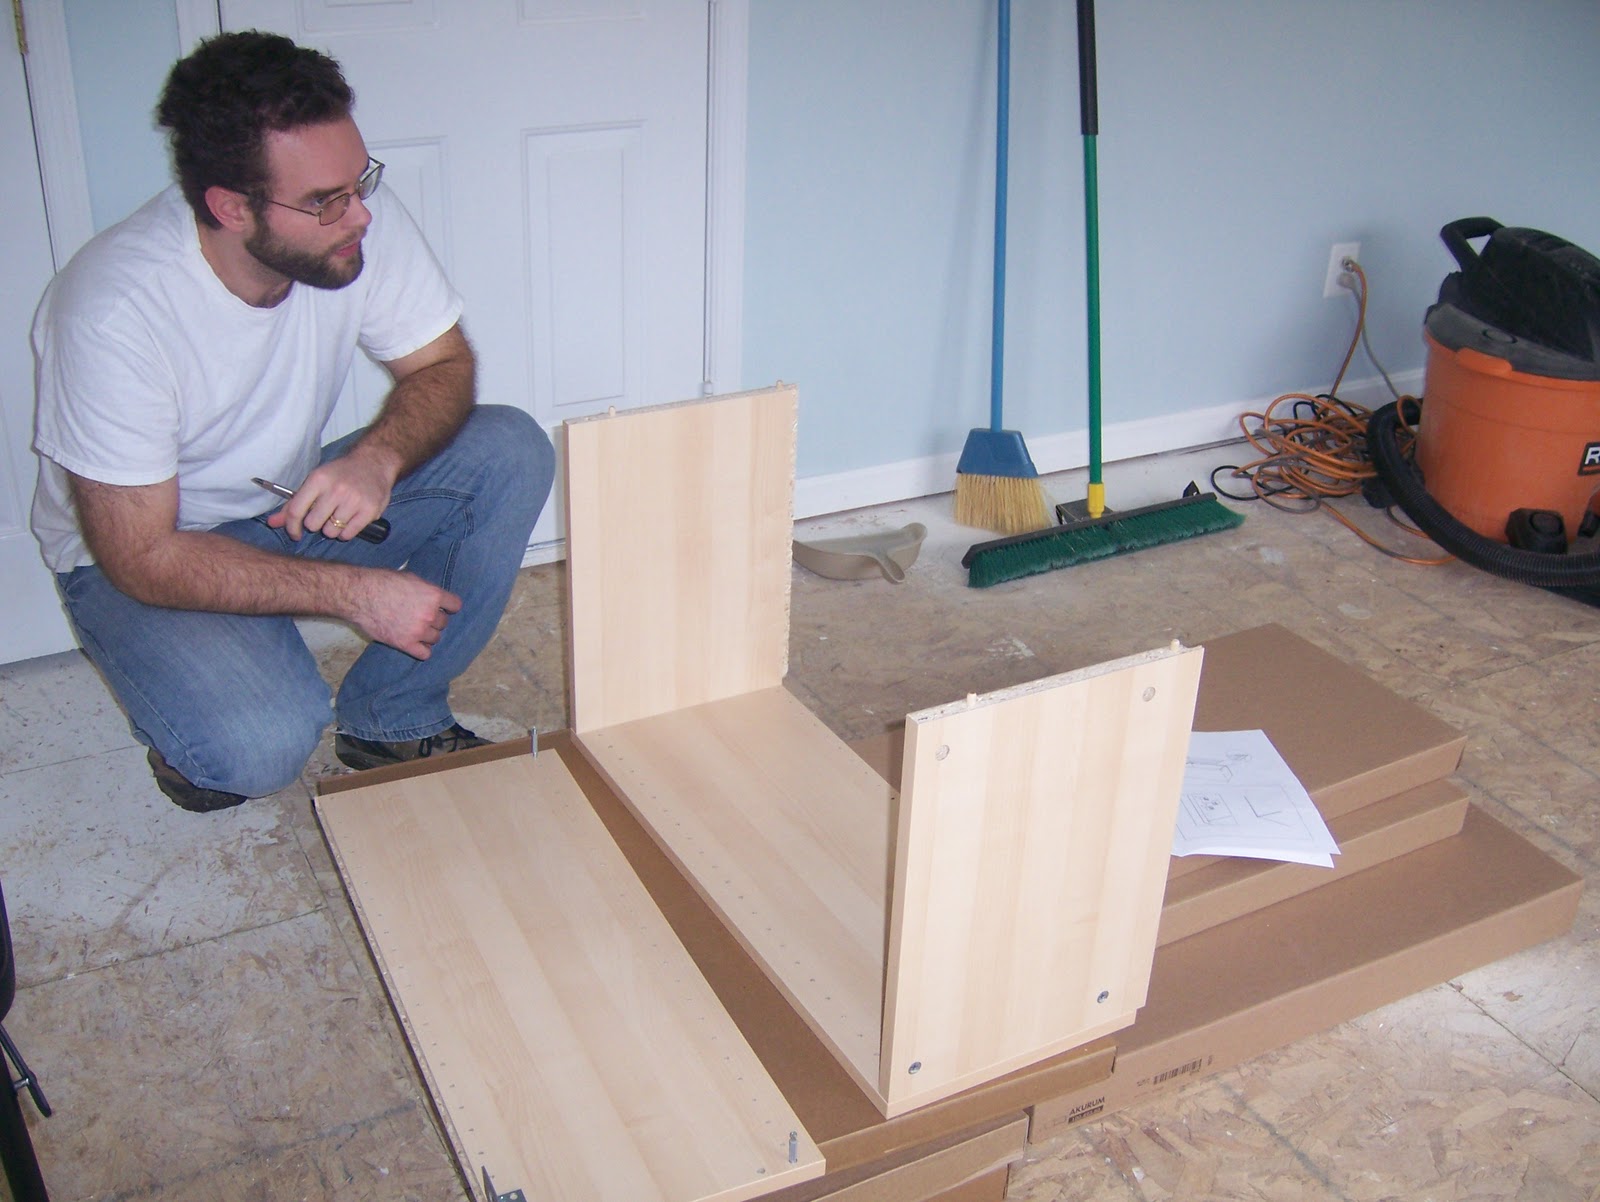
 The reason why Ikea cabinets are cheaper than other options-all the parts that have to be put together!


 The Husband built all the cabinet boxes before we started hanging ...a good idea but it sure takes up a bunch of room.


 I'm in charge of the measuring and levelness. 
 The Husband realized he nailed the cabinet back on backwards...opps!
The long rail is in place. 

Thursday, December 16, 2010

In too deep to back out now.

This sums up my current predicament.  I wanted a new ceiling fan for our family room.  The gold brass and white just doesn't really fit our decor. You can see it in the distance in the photo below. I ususally try to cut it out of pics because its so fugly. However, we have to have a flush mount and there isn't really anything that great out there in our price range (cheap-I would have to love it to spend $$). 


So I googled "painting a ceiling fan" because if I replaced the blades with a wood color and could change the metal to a brushed nickel color, the fan would work with the room.  The motor works fine and it does give off a ton of light.  Also the prospect of not having to totally reinstall something right now has an upside. 

I found a blog post on My Repurposed Life where the author did exactly what I'm looking to do. It didn't look to hard. However, this is where I am. In too deep to back out now. Need to figure out how to unscrew the clear soft plastic wire holder togethers. I anticipated the orange/black hard plastic thingies which I know how to deal with.